Pages

Showing posts with label custom background. Show all posts

Sunday, 14 December 2014

Our Shadow

Hello there!!
Sandra here to share with you my layout using this months Rustic Goodness kit.

I love what the Arty Chics have created using this beautiful kit..
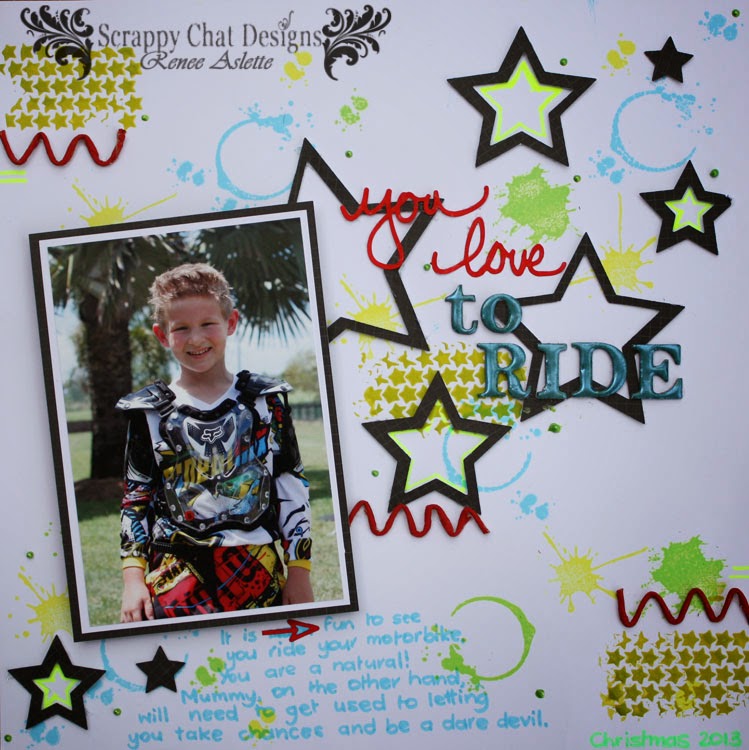
And here is my layout..


***Image Removed for Publication ***


I have used a secret BUDGET ingredient to produce that crackled background... and it is a technique which I am sure you will use again on other projects.

My technique sheet, which is sent out to Scrappy Chat Designs members, shows a step by step on how I created the textured background
Interested in becoming a member??

  here are the details :-)

Scrappy Chat Designs Kit club Membership (e-mail us to purchase):


This lasts for 3 months is $135 and includes 3 kits at 5% off and postage for all 3 kits (they are released monthly).  As a member you also get ‘insider’ info on what is coming up in the next kit – sometimes even a pic! You get additional 'Technique sheets' showing you more techniques you can nail with the product in the kit from the talented Arty Chic's.  You are also guaranteed the kits which do sometimes sell out VERY quickly.  If you are interested in membership, you need to pay the membership fee by the 30th of the month prior.  So to commence in October (next kit to be released) you need to have your membership fee paid by 30th September - Just email for this deal orders.scrappychatdesigns@gmail.com 
pretty cool huh?

Well that's it from me for now...
I can't wait to see what the other Arty Chics have in store for us using this awesome kit.

Sunday, 6 April 2014

You Love To Ride

Hi There Scrappy Chat Friends,

Renee, here to share with you a layout I have made using the March Kit.

There are so many fantastic ideas that the design team have to share.

I chose to make my layout a little boyish!!


There are few different techniques I used on this layout that I would love to share with you.

My first technique is how I put the background together.

These are the products I used:


Along with these above I used Spellbinders Stars 5 die set, nested together to create different size stars out of the Heidi Swapp Paper in the kit.

It is no secret I love to stamp.  And one of my favourite things about this kit
is the Kaisercraft stamp set.

I used Hero Art Neon inks, but you can really use anything that you have in your stash at home
and achieve the same thing.

It means that you can take a blank white sheet of cardstock and turn it into patterned paper.


See how the design element is almost like a letter Z.  It takes your eyes from the top left to the top right,
diagonally down and then to the bottom right.

The next technique is how I was able to achieve the textured stars on the background.


Using the Pigment IZink, that came in your kit.
I used a medicine cup.  
Added my texture paste (start with a little bit first, you can always add more)
I used about 2 squirts of the IZink.
Mix until it is smooth.
If you need to add more color you can.
Keep adding until you get the color you want.
Then, using a stencil and a palette knife, I scraped the mixture over the stencil in the three
areas on the background of the layout.

Here is how it worked out.


Technique Number 3 is what I did with the twine.
I wanted to bring some red into the layout to match the photo I used.


So I painted the paper twine with red paint.
Let it dry.
Then shaped it to become a zig zag embellishment.

For the Title of the Layout I used the Jillibean Soup Word Stickers from the Kit
and some red paint again.

The other part of the Title is Kaisercraft Chipboard Lettering from my stash.
I inked them first.
Then using the Tinby Metallic Melts from the Kit,
I embossed onto the lettering.


Thanks for stopping in.
And don't forget to check back on Thursday night, when the very talented
Sandra Wallace shares another layout with you.