Pages

Showing posts with label IZINK. Show all posts

Sunday, 13 April 2014

Don't smile!

Hi everyone.

It's Heather here. I hope you've been enjoying using the latest Scrappy Chat Designs kit. I sure have!

This week, I used my March kit to complete the sketch challenge at The Dusty Attic. I love what I was able to create with the kit.

Firstly, here's the fabulous sketch from Nadia. For once I managed to stick to it fairly closely! I'm a shocker for getting sidetracked from sketches and then my final layout looks nothing like the sketch!


And here's my layout:


I was trying to take passport photos of Connor at home. I've done it before and the ones of my daughter worked this time but not the ones of Connor. The lady at the post office told me that his jawline wasn't defined enough! I should have gone to another post office....

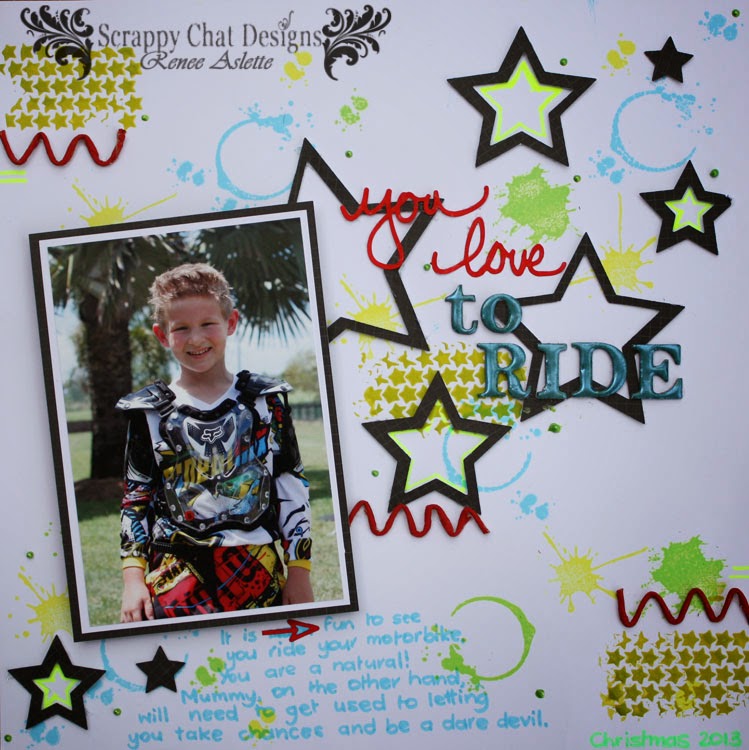
The cardstock, stamps (I love these!), Tinby Metallic Melts, Pink Paislee paper and Izink were all from the March kit from Scrappy Chat Designs. How cool are these products!

To make the background, I first swished around some Alabaster paint then applied some Gelatos over the top. I mixed some Izink with water in a spray bottle but there wasn't much in the container and it splattered rather than sprayed. I love this effect. I then used a stencil I had recently bought and added some texture with texture paste.


The chevron strip on the right side under the photos is the negative section left over from when I took out the chevrons for the left hand side. I think these 'waste' strips make awesome embellishments! Using Dusty Attic paints and Tinby Metallic Melts, I faded the colours of the chevrons from blue through to white.


I also used the Metallic Melts to colour the Geometric Corners and used blue and black inks with those fantastic Kaisercraft stamps to add more activity to the background.


I must confess, I had a near disaster with that title! I had painted it with the Izink and wondered how it would react with Dusty Attic's Clear Crackle Varnish. I hadn't used the crackle for a while and the nozzle had blocked so I gave it a good squeeze. (You can see what's coming can't you?). SPLAT! The lid blew off and crackle flew onto my walls,  my window and my set of drawers! After my initial panic I soon realised that it all cleaned up with just a cloth and water. Phew! Meanwhile, a large blob had fallen onto the title so I just kid of smudged it around a bit. It tended to remove the colour in the Izink (any water-based product does) but it did manage to crackle it and I love the final result!

Happy scrappin'!

Heather


Thursday, 10 April 2014

Love at First Sight

Hello There!
Sandra here again with my third and last layout using the gorgeous Hello Kit.
As with the other layouts I used  a Page Drafts sketch for my layout
this time I used sketch number 23_1

I used the IZINK with impasto to create the background.
The IZINK turned a gorgeous yellow when I mixed it with the clear impasto...


I had fun creating my own flower and leaves with left over cardstock and paper (and I still have plenty of sheets left!!)
and making a heart with the paper twine (that stuff is seriously cool!)
playing with a border punch, sequins and yep, that super fun stamp set.

This kit has been so much fun!
And as you can see by what Heather, Renee and Beck have created there are so many different ways to be inspired by it!

Check out the details here if you are interested in purchasing the kit.


Sunday, 6 April 2014

You Love To Ride

Hi There Scrappy Chat Friends,

Renee, here to share with you a layout I have made using the March Kit.

There are so many fantastic ideas that the design team have to share.

I chose to make my layout a little boyish!!


There are few different techniques I used on this layout that I would love to share with you.

My first technique is how I put the background together.

These are the products I used:


Along with these above I used Spellbinders Stars 5 die set, nested together to create different size stars out of the Heidi Swapp Paper in the kit.

It is no secret I love to stamp.  And one of my favourite things about this kit
is the Kaisercraft stamp set.

I used Hero Art Neon inks, but you can really use anything that you have in your stash at home
and achieve the same thing.

It means that you can take a blank white sheet of cardstock and turn it into patterned paper.


See how the design element is almost like a letter Z.  It takes your eyes from the top left to the top right,
diagonally down and then to the bottom right.

The next technique is how I was able to achieve the textured stars on the background.


Using the Pigment IZink, that came in your kit.
I used a medicine cup.  
Added my texture paste (start with a little bit first, you can always add more)
I used about 2 squirts of the IZink.
Mix until it is smooth.
If you need to add more color you can.
Keep adding until you get the color you want.
Then, using a stencil and a palette knife, I scraped the mixture over the stencil in the three
areas on the background of the layout.

Here is how it worked out.


Technique Number 3 is what I did with the twine.
I wanted to bring some red into the layout to match the photo I used.


So I painted the paper twine with red paint.
Let it dry.
Then shaped it to become a zig zag embellishment.

For the Title of the Layout I used the Jillibean Soup Word Stickers from the Kit
and some red paint again.

The other part of the Title is Kaisercraft Chipboard Lettering from my stash.
I inked them first.
Then using the Tinby Metallic Melts from the Kit,
I embossed onto the lettering.


Thanks for stopping in.
And don't forget to check back on Thursday night, when the very talented
Sandra Wallace shares another layout with you.


Thursday, 3 April 2014

Missing you Today

Hi!
Sandra here again with my second layout from the "Hello" kit

--This layout is out for publication-- 

 With all my layouts this month I went to PageDrafts for a kick start
for this layout I used sketch number 46


To create the background I diluted the IZINK ink in water and put it in a spray bottle and lightly misted the background.

Then using the awesome stamps in the kit  and the mango gelato I stamped the background.  (spray the stamp with water before adding the gelato to create a delicious water colour affect)


using a paint brush and adding a stronger solution of IZINK and water I dropped a few drops next to the stamped spots and also spread it around with the paint brush.

Dry with a heat gun.

I then painted and sprayed the background with both diluted IZINK and mango Gelato.
Dried with a heat gun and then stamped with randomly with a script stamp and doodled a border.
Then I created the layout.

the flowers I made with one of the pieces of white cardstock.. I coloured them with IZINK and mango Gelato.
The paper twine was wrapped around a skewer to give a cute little twirl.


I added some celadon ink to the title and then used the TINBY METALLIC MELTS to create a beautiful texture and colour, added some punched butterflies and some journaling and  it is complete.


I enjoyed playing with the IZINK and the Gelatos and discovering different ways to use them.

Well that is it from me for now until next time with another layout to share. :-)