
Hello
Sandra here again!
How awesome is the Dreams Imagined Kit?
Sandra here again!
How awesome is the Dreams Imagined Kit?
I fell in love
with it as soon as I opened my happy mail from Beck, the colours are just divine.
For
my first layout I went for quite a simple look.
I had some fun with the background and tried something a little different with the awesome piece of Twiddleybitz lattice chipboard
I had some fun with the background and tried something a little different with the awesome piece of Twiddleybitz lattice chipboard

Here is how I
created it.
Firstly I trimmed the grey cardstock to 29.5cm x29.5cm.
I cut out the centre of the IMAGINE paper and used this to matt the grey cardstock.
Firstly I trimmed the grey cardstock to 29.5cm x29.5cm.
I cut out the centre of the IMAGINE paper and used this to matt the grey cardstock.
Using the Kaisercraft stamps I first randomly
stamped the edges and the layout with white ink.
and then I repeated this with black ink.
I added some white, orange and aqua watered down water colours splats to add a bit of colour to the background... they look awesome against the grey!
and then I repeated this with black ink.
I added some white, orange and aqua watered down water colours splats to add a bit of colour to the background... they look awesome against the grey!

Next
I created the chipboard flower.
I painted the entire chipboard piece with white matte spray paint.
I painted the entire chipboard piece with white matte spray paint.
(you
can use which ever medium you like.. I am an impatient person and I find that
spray paint gives great coverage and is also fast drying )
Then.....
Then.....

1.
Cut out your 5 diamonds from the lattice (I only
used 5 because I knew that the flower would be tucked under the photo.. but to
make a complete flower cut out 6 diamonds.
2. Glue the diamonds onto the piece of Imagine paper that you cut out earlier.
2. Glue the diamonds onto the piece of Imagine paper that you cut out earlier.
3. Fussy cut around the your flower.
4. I found a plain white button in my stash and
embossed it using the silver TINBY
METALLIC MELTS in the kit.
I then assembled
the layout as seen in the photo.
To help the title stand out I outlined it with white gel pen

Next
I created the butterflies.
I simply used the gorgeous butterfly stamp that is in the kit with Staz on Ink and stamped it on the piece of white card in the kit.
I simply used the gorgeous butterfly stamp that is in the kit with Staz on Ink and stamped it on the piece of white card in the kit.
then...
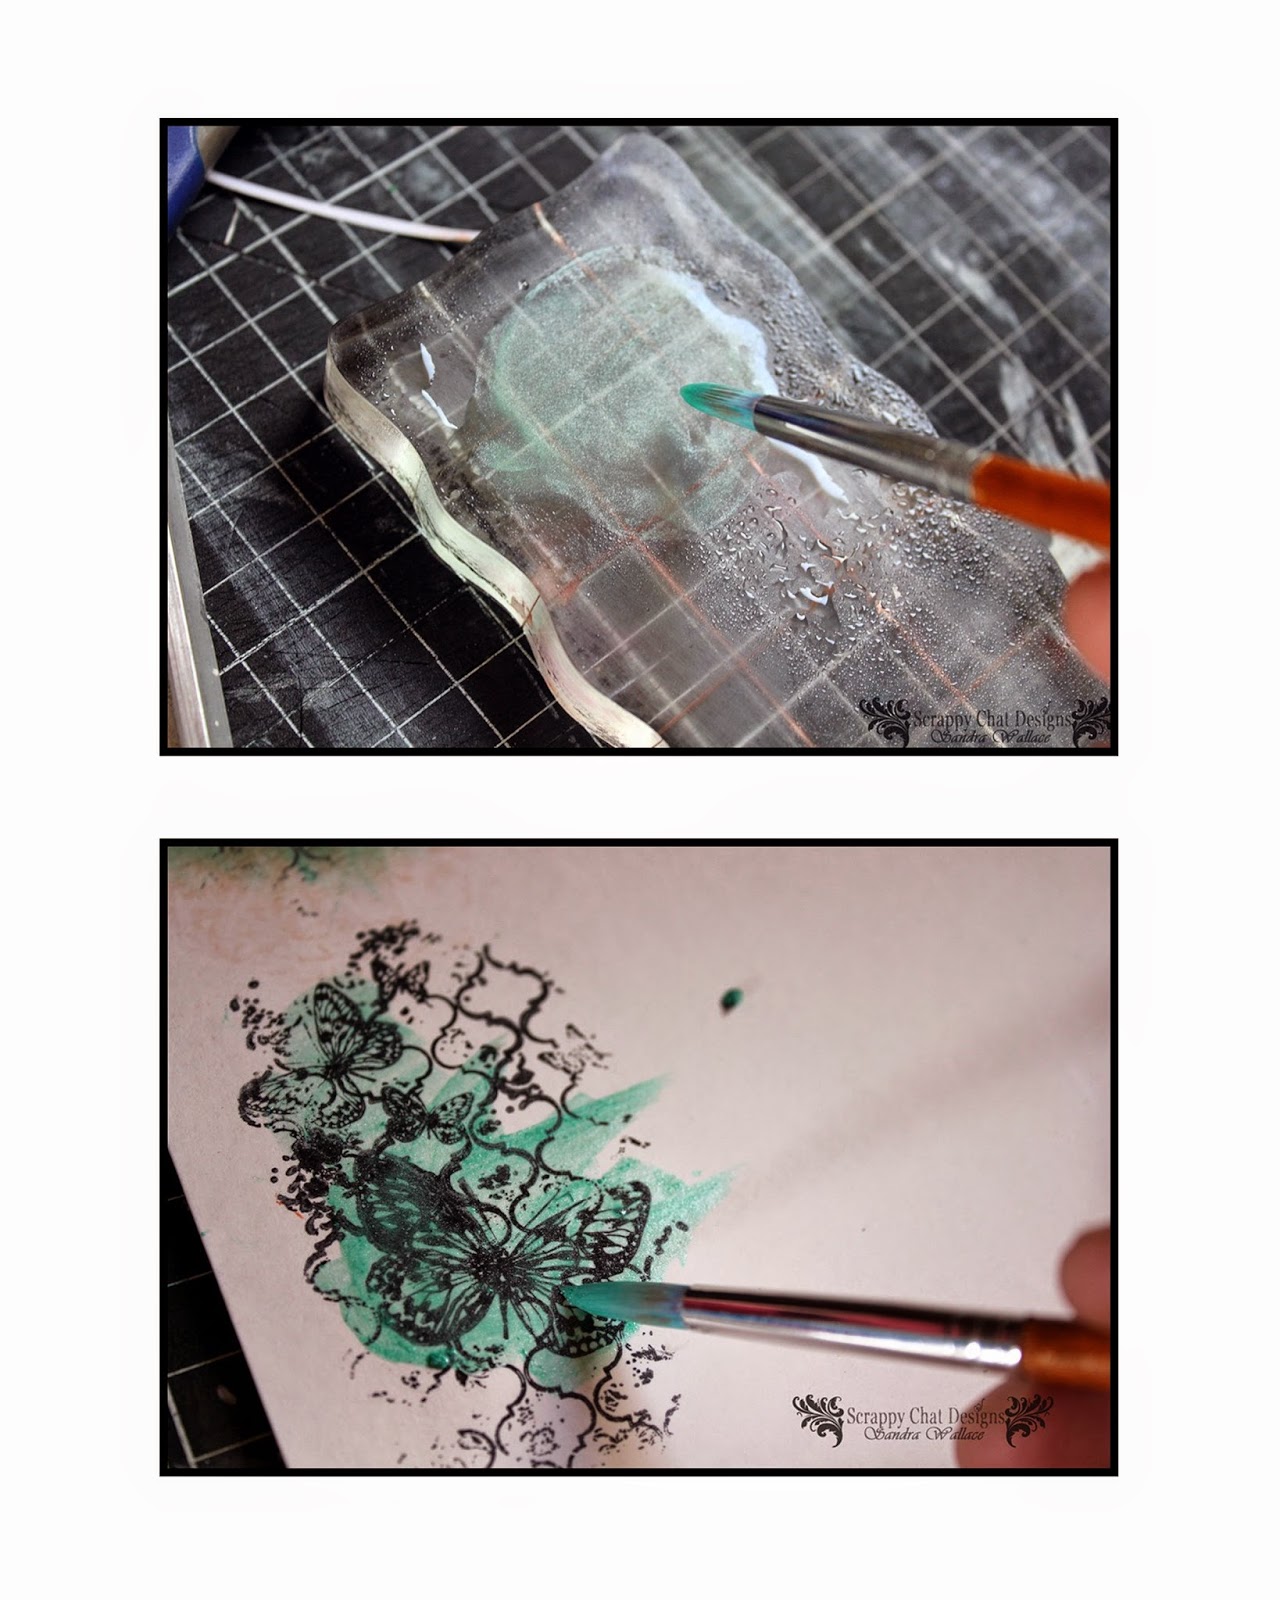
On
an acrylic block I added some mint gelato and then sprayed it with water. I
blended it with a paintbrush and then simply painted the stamped image,
blotting any excess water with a baby wipe.
Then I fussy cut the butterflies and added them to my layout.
Then I fussy cut the butterflies and added them to my layout.

Added
some journaling ...

And
my layout is complete!
I hope you have
fun creating with your new Dreams Imagined Kit.
And I do hope you share what YOU create with us over on the ScrappyChat Facebook page.
We love to see what the members create using the kits!
And I do hope you share what YOU create with us over on the ScrappyChat Facebook page.
We love to see what the members create using the kits!


